How to Draw a Polyline in Autocad

Introduction to Polyline in AutoCAD
AutoCAD is computer-aided designing software which have many different types of 2d and 3d commands for making its work easy. We have many 2d commands in this software to shape this software in our drawing work. Polyline is one of those 2d commands which help in making of 2d shape by using a number of connected line segments. Here in this article, we will discuss different parameters of the polyline command of auto cad and learn about how we can make the shape with it. So let us start our discussion about this topic and get introduced to it.
How to Use Polyline Command in AutoCAD?
We can understand Polyline in AutoCAD as a line with a number of connected lines in one shape without any break. We will discuss it with an example in this article but before starting our learning, let us have a look at the working screen of this software.
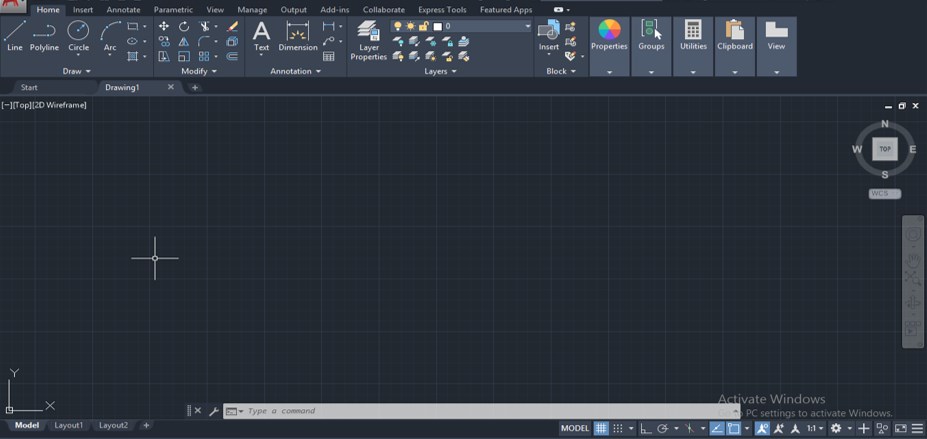
Step 1: At the top of the working screen, there is a ribbon of menu bar which has different tabs on it such as Home tab, Insert tab, View tab, and many others; below this bar, we have a working window for showing our working in this software with the navigation bar, UCS icon and view cube for helping us in our drawing work, below this window we have some navigation command for handling our working during the making of drawing in this software.
Step 2: You can find the Polyline command in the Draw menu of the Home tab of this software with this icon.

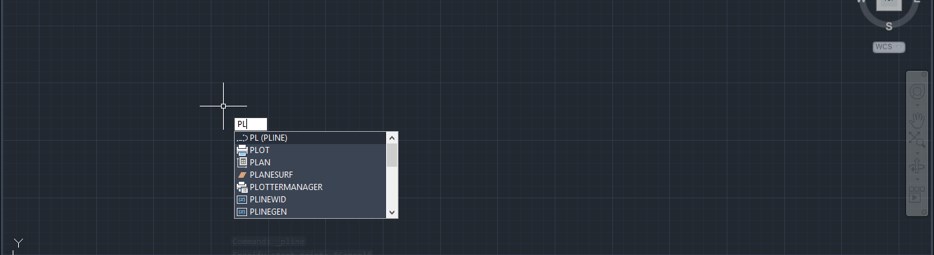
Step 3: Or you can press PL from the keyboard then press the enter button of the keyboard for having this command active.
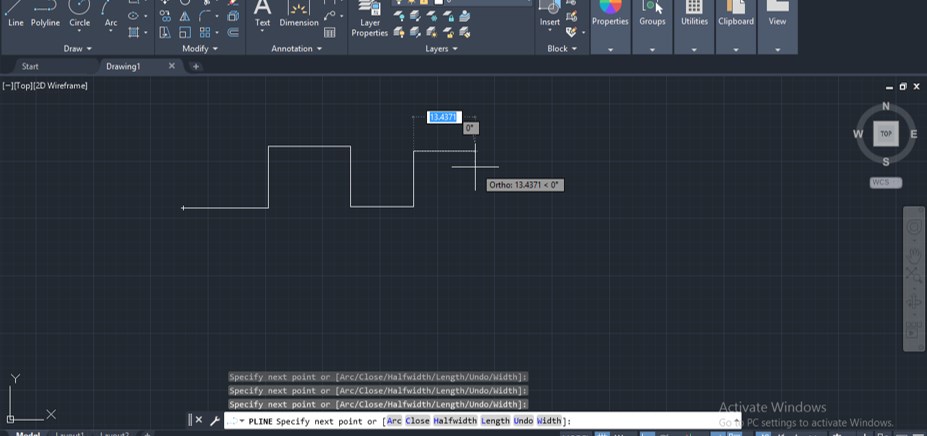
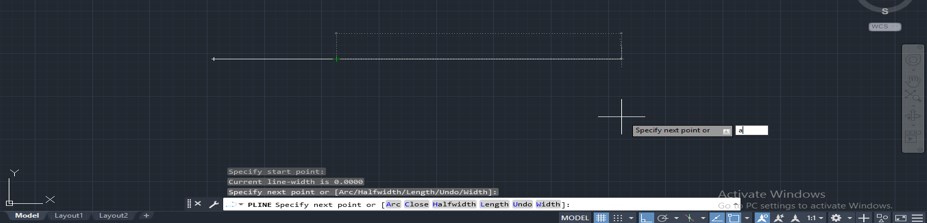
Step 4: Now, take the first point from where you want to start this polyline, then make your desired shape with a line in continuation of this polyline command.
Step 5: Let us take line command and understand polyline more clearly. Take line command from the draw menu of the Home tab.

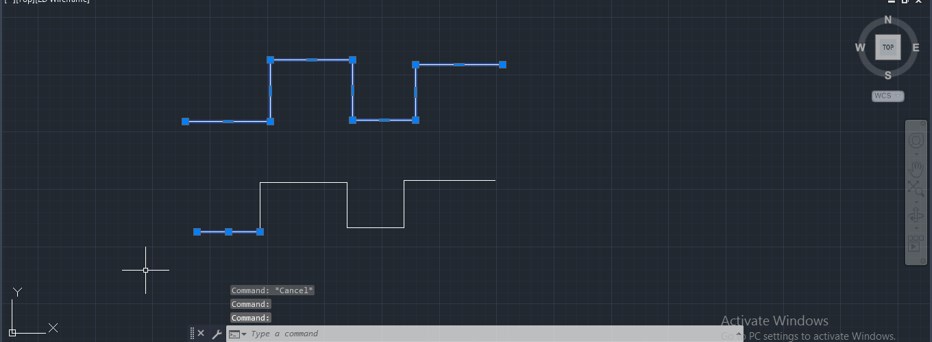
Step 6: And draw the same pattern of the line as we draw with the polyline command. Now when you select both of them with a mouse cursor, you can see polyline will select in the single selection and show you different connected line segments, but if we see the pattern of line command, it will select one segment of the line pattern. So polyline gives you the number of the connected line segments in one shape of the structure.
Step 7: Now again, take polyline command for analyzing different parameters of it. When you select it, you can see there is a different option of polyline at the bottom of the working window of this software in the parameters box of this command.

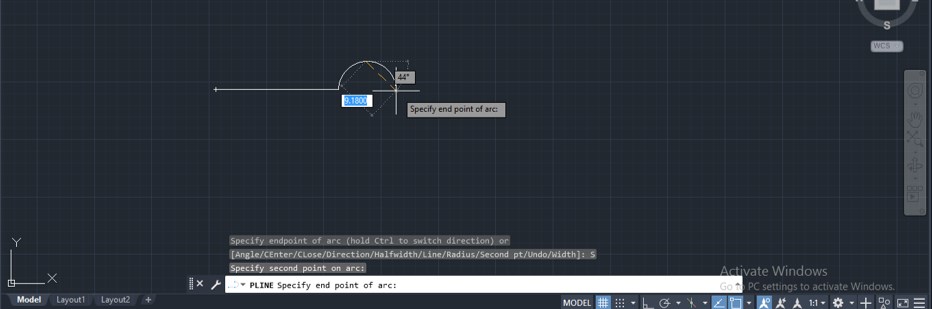
Step 8: Now draw a polyline, then press the A button of the keyboard for the Arc option of this command, then press the enter button of the keyboard.
Step 9: Then select the Second Pt option from the list of options of this command for specifying the point of the arc, then press the enter button of the keyboard.

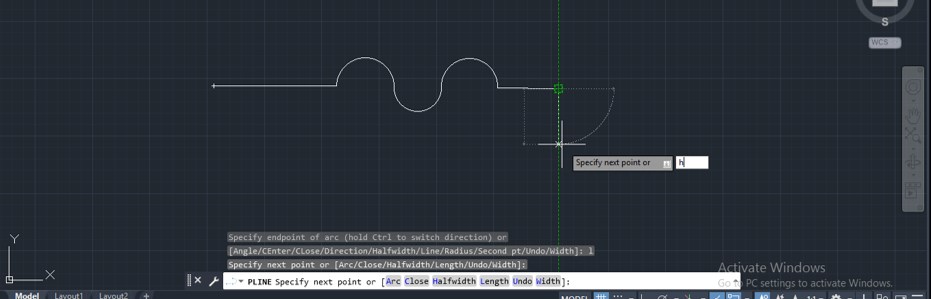
Step 10: Now click on a point as the center point of the arc, then again click on another point as the endpoint of the arc for making it.
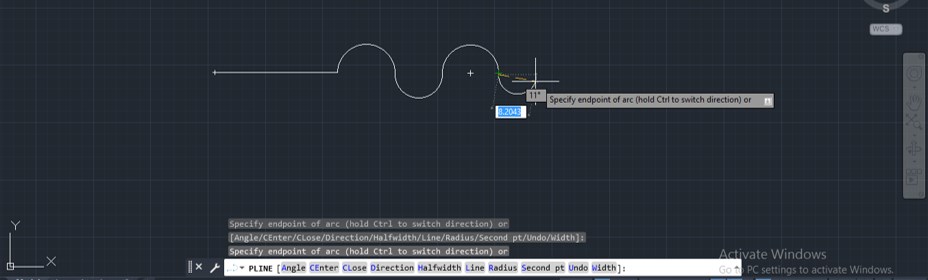
Step 11: Now click again and again on a new point as the endpoint of the next arc, and you can make a number of the arc with it like this.
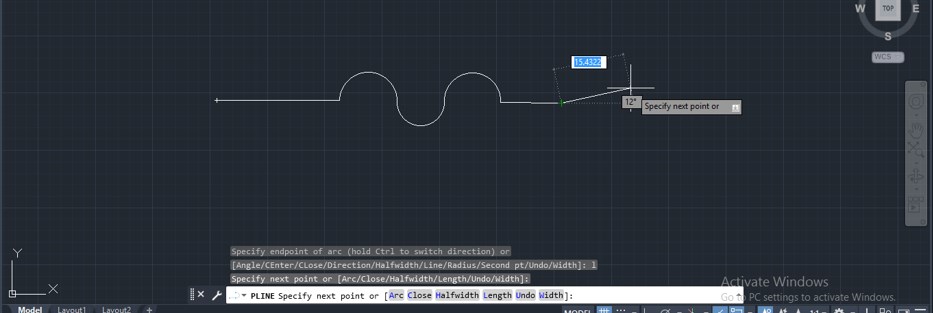
Step 12: And for leaving this arc option of polyline command, press L from the keyboard, then press enter button of the keyboard for back into line form of polyline command.

Step 13: And again, you can draw the line with this command like this.
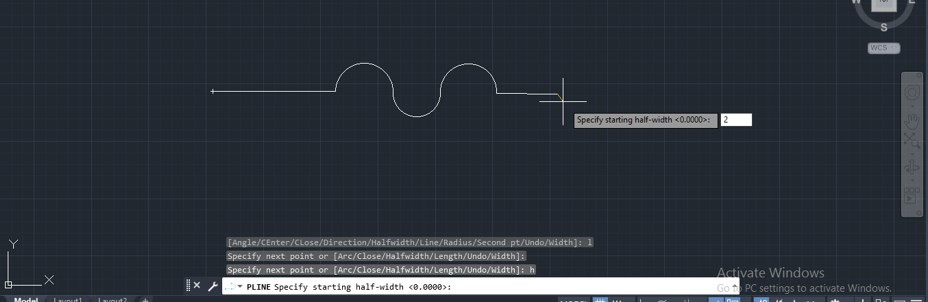
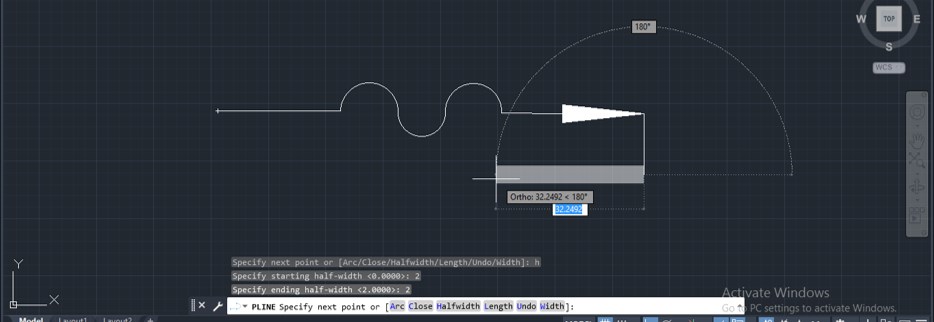
Step 14: Now, let us understand the Halfwidth option of polyline command from options of this command. For the Halfwidth option press, the H button of the keyboard then presses the enter button of the keyboard.
Step 15: Now, give the start value of the halfwidth option by keyboard entry. I will give it as 2, then press the enter button on the keyboard.
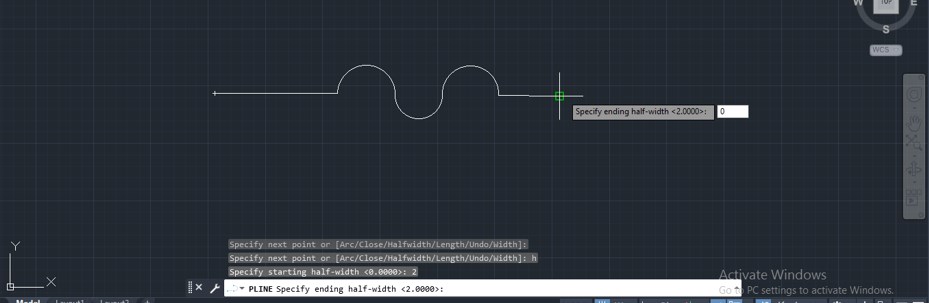
Step 16: Again, specify the end value of the halfwidth option from the keyboard entry. I will give it a 0 then press the enter button on the keyboard.
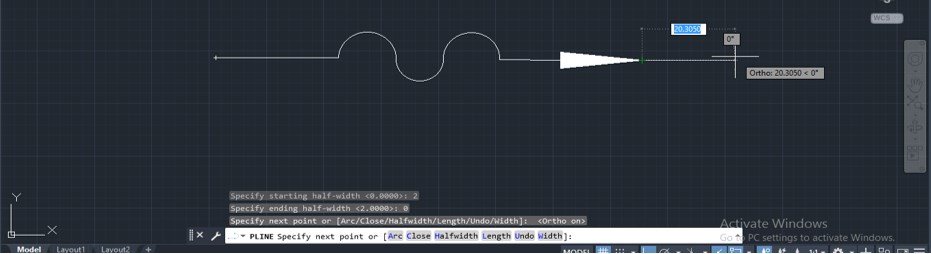
Step 17: Now, when you drag the mouse cursor, you can draw the arrow-like structure and make a click to give the length of this arrow, or you can enter your desired value by keyboard entry method. Now you can draw the line again because we had taken the value of end width as 0.
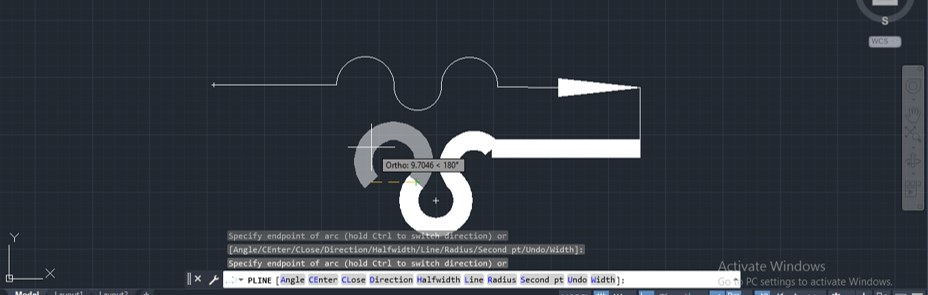
Step 18: You can increase the wide of polyline in the continuation of any structure. For increasing the width of the polyline, just take the Halfwidth option again and enter the value of start width, then press enter button of the keyboard and enter end width, then press enter button of the keyboard to make sure both values should be the same. Now you can draw a line with increased width like this. You can make any structure with this line.
Step 19: You can also make an arc with this increased width line. For this, take the Arc option from the polyline command option again by pressing a button on the keyboard and pressing the keyboard's enter button. Then take the Second pt option of arc option as we did previously. Now take the midpoint of the arc than the endpoint for making an arc. Now you can make the number of the arc with an increased width line like this.
Step 20: Now, again, for decreasing the width of the polyline, take the Halfwidth option of the polyline line command again and follow the same steps as we did in previous; just take the value of start width and end width as 0. Now you can draw the line again like this. If you want to close the structure, press the C button of the keyboard and then press the enter button of the keyboard.
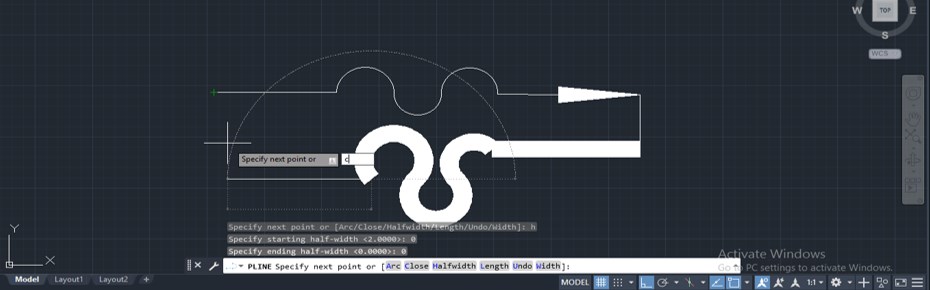
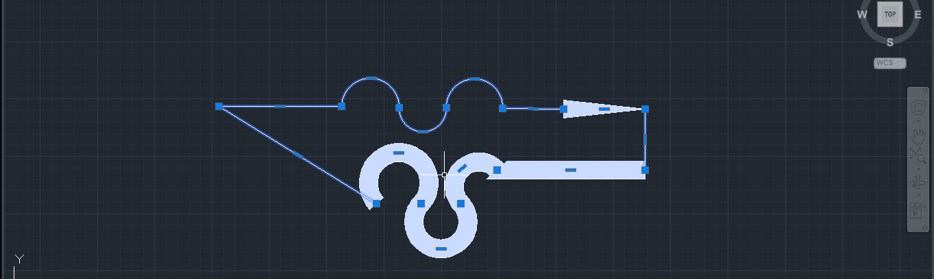
Step 21: Now start point of starting line and endpoint of the ending line will connect to each other, and your structure will close like this.
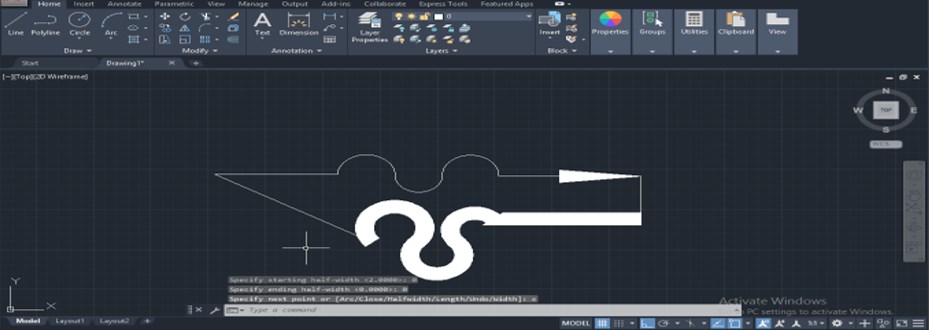
Step 22: Now, when you select this shape, it will show you different segments of line connected in this shape.
Conclusion
Now, after this article, you can understand what Polyline is in auto cad and how you can handle its parameters for making a shape with it. You can analyze its parameters more and more by practicing on it for making a good drawing with the help of the polyline command of the auto cad.
Recommended Articles
This is a guide to Polyline in AutoCAD. Here we discuss the Introduction and steps to use Polyline in AutoCAD. You can also go through our other related articles to learn more –
- Toolbars in AutoCAD | Display Toolbars
- Extrude in AutoCAD | Creating Extrude Effect
- Loft in AutoCAD | Tutorial How to Create Loft
- Spline in AutoCAD | Complete Tutorial
Source: https://www.educba.com/polyline-in-autocad/
0 Response to "How to Draw a Polyline in Autocad"
Post a Comment